Homemade Pita
Soft, a little doughy, a little chewy, these pitas are going to be your new favorite. They are easy to make and come out of the oven looking like puffy clouds of delicious bread. They are versatile, as you can stuff them with just about anything and they will be tasty!
Back in my college days, there was this fast food place called Pita Pit that was in my walking route to campus. It was so good. I ate it more than I should have. But I loved getting the grilled chicken pita with cooked onions, lots of lettuce, tomato, and ranch. It was way more expensive than it should have been, and looking back, it maybe wasn't as good as I thought it was. But at the time, it was my go to!
When I graduated and moved to a different town, I craved that pita so I decided to make my own. Today I am sharing the pita recipe that I have made for years. Pitas are so fun to make and really quite simple. That perfect pocket forms in some sort of magical way in oven and I am not sure how it happens, but it is does and it is delicious. You don't do anything special to the dough other than roll it out into small pieces. You do nothing to create that pocket. Something happens in the oven that makes the pitas puff up, creating the most perfect cloud of bread that can be used for so many different things. Please try them. I promise you will find them just as magical.

Details and Tips!
Pitas are so easy to make. They do take a little extra proofing time compared to traditional yeasted bread, other than that, they are so simple.
You are going to start by blooming some active dry yeast in water and honey. Then you will mix the flour and some salt in a mixer with the yeast mixture and olive oil.
I use a stand mixer for this and let the dough come together with the dough hook. It will knead for about 5 minutes or until the dough is nice and smooth. Then it proofs for an hour or 2 until it is doubled in size.
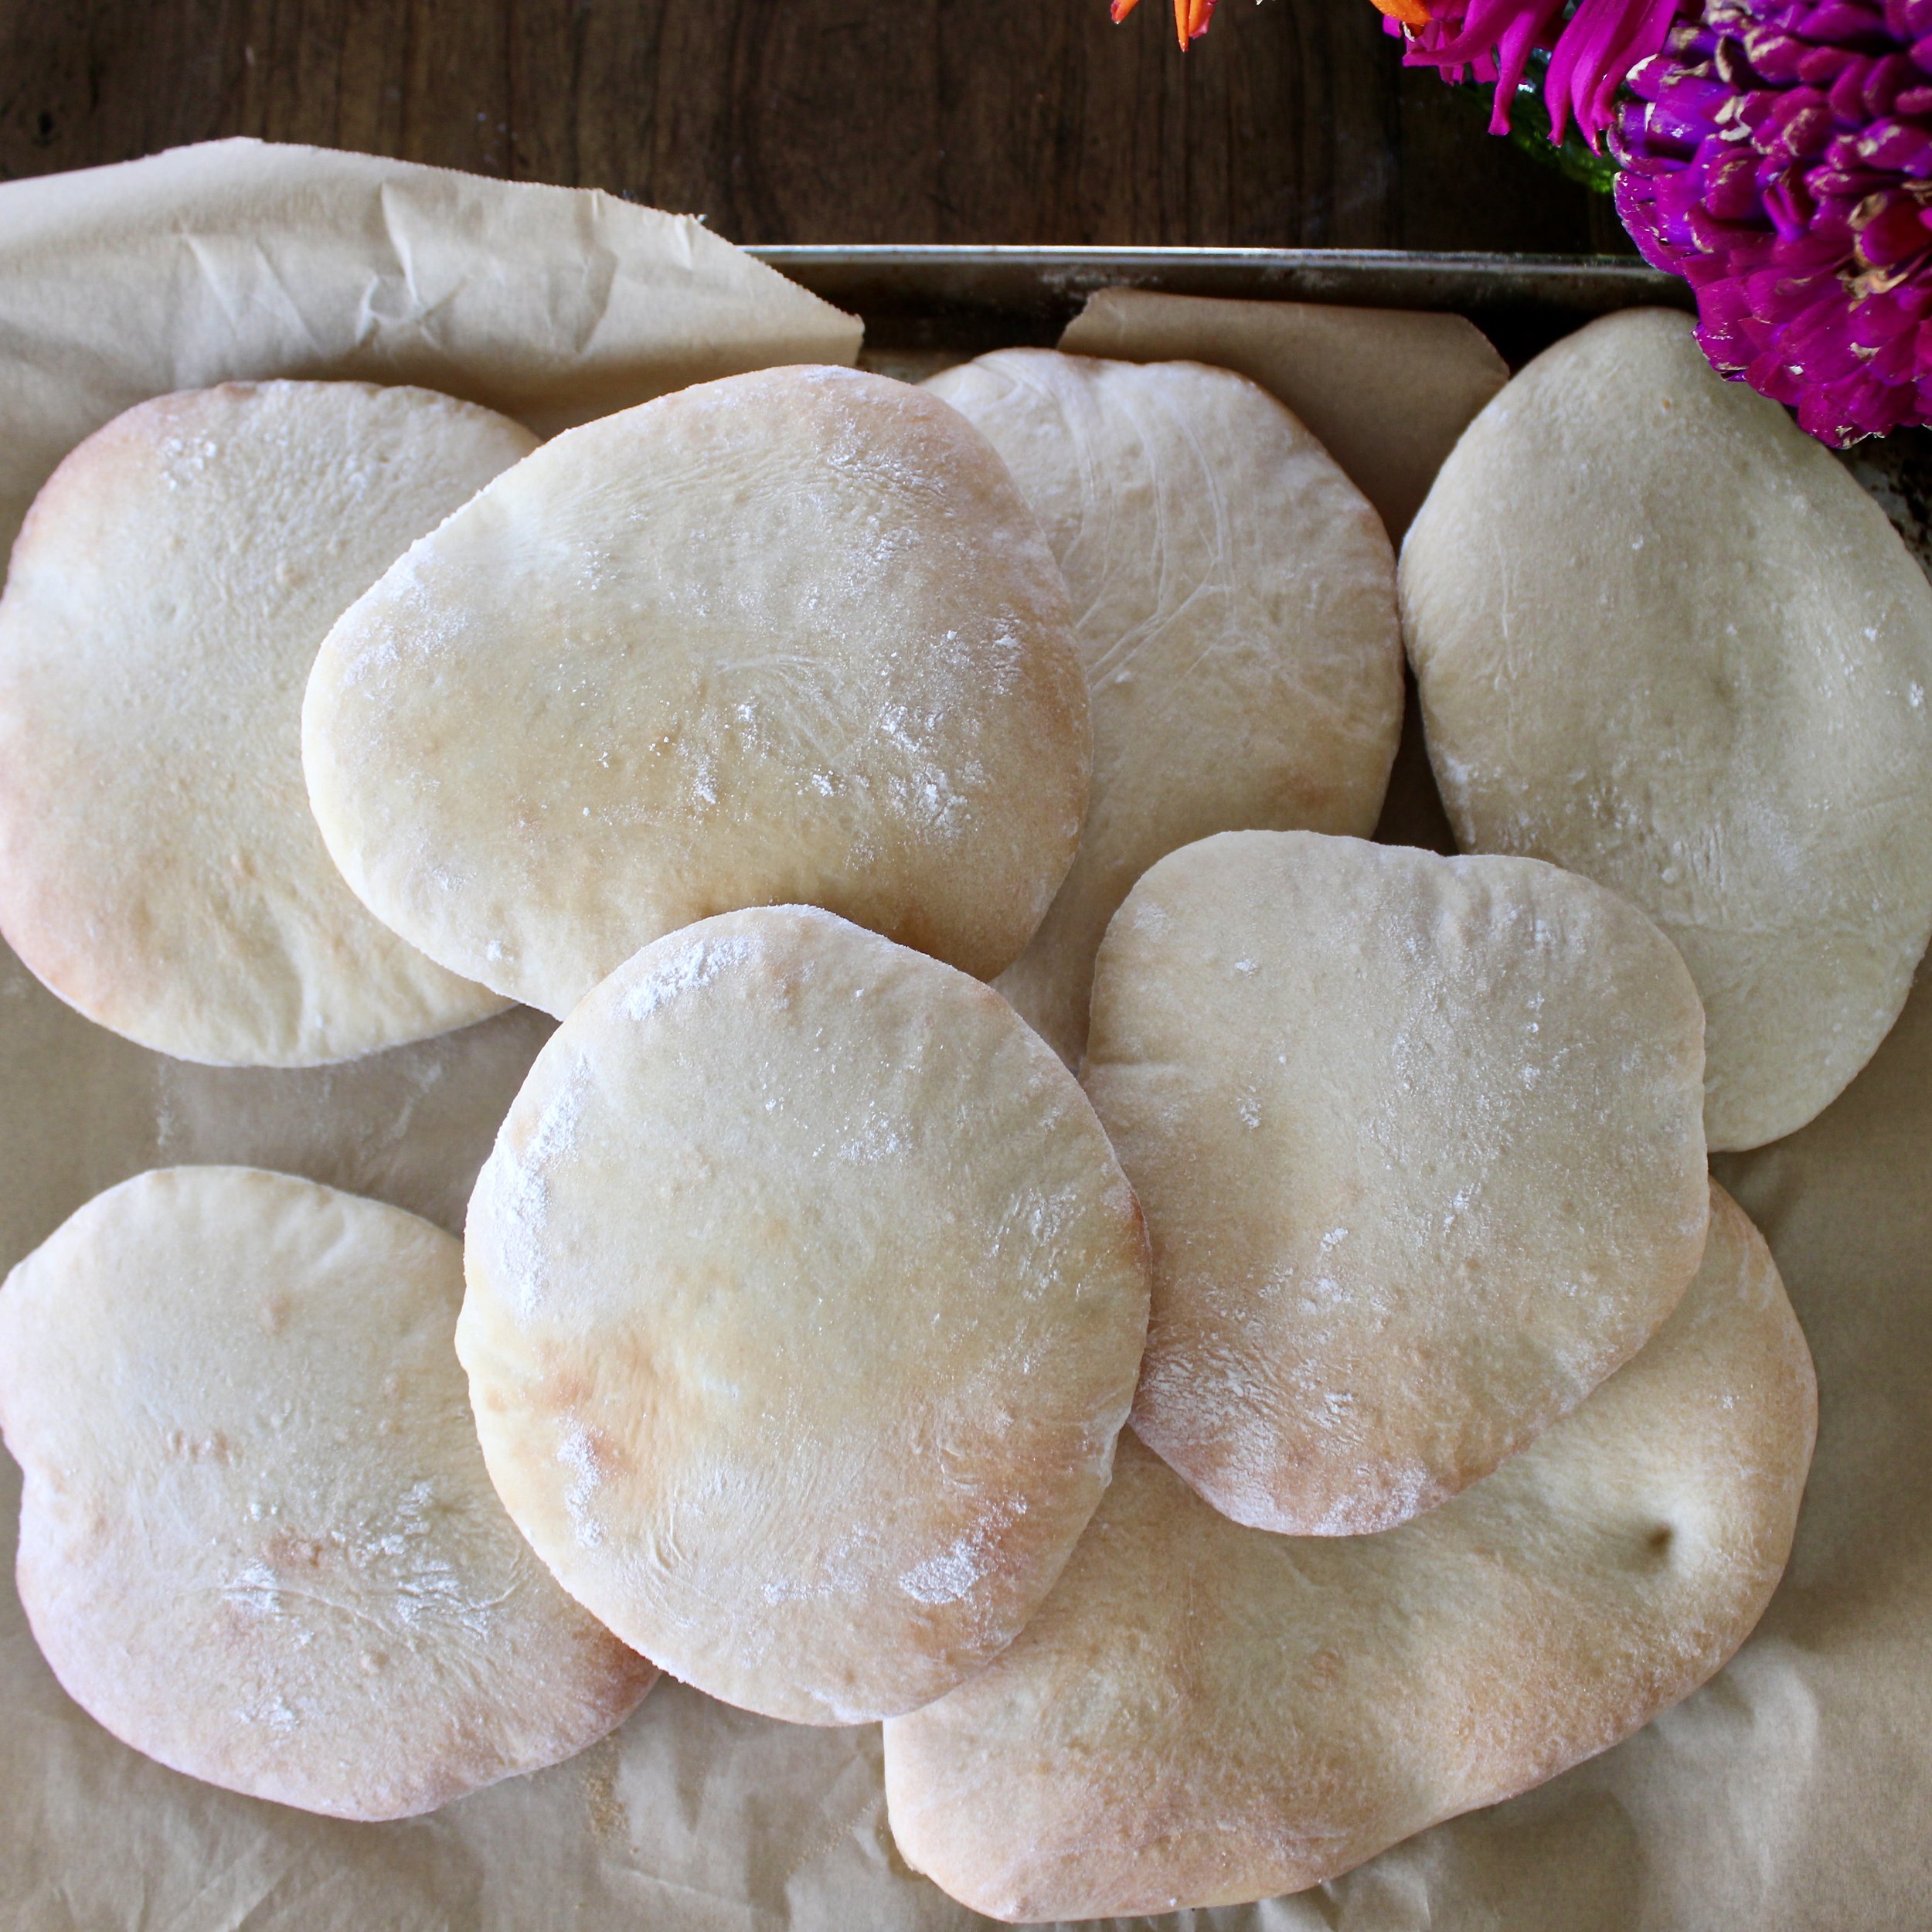
Once it has risen, divide the dough into equal pieces, however big you prefer. I like to make 8-10 pitas with this recipe. Form the dough pieces into balls by pulling the edges under to the bottom until the top is tight. Once all the balls are formed, let them rest for about 30 minutes. They will puff up again.
After 30 minutes has passed, preheat the oven to 500 degrees. Roll each ball out until it is about 14 inch thick. Don't fuss with the dough too much or it will start to bounce back. If that happens, let the dough rest for a few minutes, and then try to roll it out again.
Bake the pitas for 8 minutes or until they are very lightly golden on top. Remove them from the oven and cool them on a wire rack.
These are great to keep in the freezer to have on hand for a quick dinner. They are best reheated in the oven or in the toaster. They will store in an airtight container at room temperature for a few days as well.

What you need!
- warm water
- active dry yeast
- honey
- salt
- olive oil
- all purpose flour - or bread flour will work here too
Customize!
- flour - You can sub in some whole wheat flour with the all purpose flour if you would like. I would do about half of each. Too much whole wheat flour will bake the dough too dense.
- stuffing - You can truly put anything in these pitas. We like to make thin burgers to eat in pitas. We also will do sloppy joes or even lunch meat with lettuce, cheese, and mayo. But I think our favorite is grilled chicken with lettuce, tomato, and ranch. You can keep these as simple as you want.
Explore more!
I hope you give these a try and love them as much as we do. Don't forget to watch them bake. You will see magic happen!
Homemade Pita

This cloud-like pita bread is truly perfect. They create the most perfect pocket to stuff with anything you want and are really simple (and fun) to make! They are soft, a little chewy, and delicious. You will never buy store-bought again after making these!
- 1 1/2 cup warm water (not too hot)
- 2 1/4 teaspoon active dry yeast (or one packet)
- 2 tablespoons honey (or sugar)
- 2 teaspoons salt
- 3 tablespoons olive oil
- 3 3/4 cup all purpose flour (or bread flour)
-
In the bowl of a stand mixer, mix the water, yeast, and honey together. Let sit for 5 minutes or until the mixture is foamy.
-
Add in the salt, oil, and flour. Mix together using the dough hook attachment, starting on low and gradually increasing the speed to medium. Let the dough knead for about 5 minutes. The dough should clean to sides of the mixing bowl as it kneads. Add a little flour at a time as needed until it is pulling away from the sides of the bowl and is smooth and still slightly sticky to the touch.
-
Place the dough in a lightly oiled glass bowl. Let it rest in a warm place for 1-2 hours or until it has doubled in size.
-
Turn the dough out onto a lightly floured surface. Divide the dough into 10 equal pieces. Form each piece into a ball by pulling the edges under and pinching the bottom to seal. Let the balls rest for another 30 minutes. They will puff up again slightly.
-
Preheat the oven to 500 degrees. Line two baking sheets with parchment.
-
Roll out each ball until they are about 1/4 inch thick. They do not have to be a perfect circle, but try to make them oval or circle shape.
-
Bake for 8 minutes or until they ever so slightly golden on the top!